As a rule, if I can do my
own work, then I do it. There are not a whole lot of projects I won’t tackle,
from car repairs to basic home furnishing jobs. However, when it came to
performing my own computer work, I was at a bit of a loss. Though there are
plenty of resources online, though I found myself wading through article after
article attempting to find the right resource for my project. Thus, the Do It
Yourself project turned into something less than an enjoyable hobby activity.
If you’re thinking of attempting your own computer work, you should come into
the project with a good idea of what needs doing and how to do it. Below, I
will give you a short introduction on basic installations of some of the most
common computer components. It is important to note proper safety protocols.
Always ensure you have discharged your static by touching a grounded metal
object or by using an anti-static wrist band. Always ensure that your computer
system has been unplugged from its power source, and never attempt to open your
power supply unless you are certified in its maintenance. That said, continue
reading below!
Installing Hard Drives (Desktop, Server)
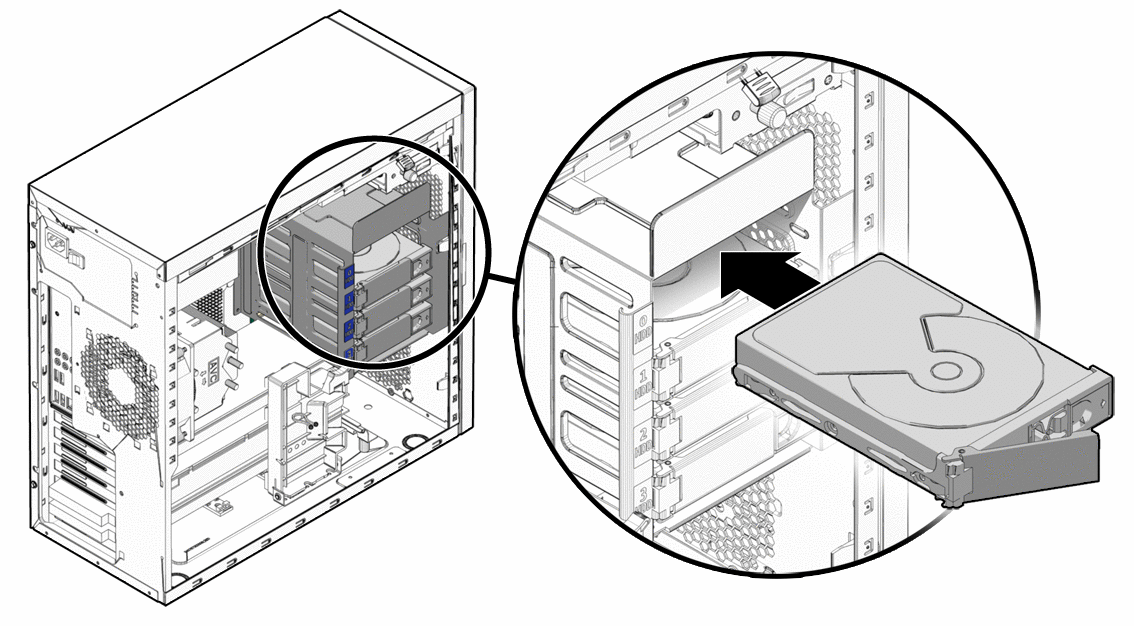
Installing a desktop or
server hard drive is one of the most easy and accessible computer hardware upgrades.
Before you even begin the installation, you will want to make certain you have
backed up the entire drive in a secure location. It would be a shame to lose
all of your data trading away an old hard drive, later finding that you had no
backups! After you’ve got your case open, you will need to locate the open
drive bay. Most computers have space for two to four, though eight and more
aren’t unheard of. The open drive will most likely be underneath your CD/DVD
drive. You will need a data cable (most often a SATA cable) to install the
drive. Mount the drive in the open bay by inserting it in with its ports facing
the open interior of the computer. Attach the indicated side of the SATA cable
to the motherboard, the other to the hard drive. Secure power and give her a
spin!
Installing Processor (Desktop, Server)

The processor is a
straightforward installation. Locate the socket on your motherboard, and note
that the socket cover indicates one corner with some sort of market (usually a
gold square or triangle). Remove the socket cover by lifting the pin or the
clamp. Place your processor in the socket with the processor’s indicated corner
matching the same corner indicated by the processor cover. Replace the cover,
install the heat-sink, and you’re good to go.
Installing Additional Ram (Desktop, Server)

Additional RAM is perhaps the easiest upgrade to pursue. Locate the empty DIMM slots on your motherboard and remove clamps, if there are any. RAM module in hand, line the pins up with the slots and push the RAM firmly into place. In the case of my X7403A RAM, I installed two sticks as a kit. Ensure you have the requisite DIMM availability before pursuing this upgrade!
No comments:
Post a Comment